
Create a News Article
News articles are used to publish updates on the website. News articles can contain text, videos, links to PDFs and image galleries. To create a News Article on the website, follow the steps in this guide. You can also use the NEWS collection to upload issues of Village Talk and Greenways Gazette.
Good quality pictures will improve the appearance of your news items. Uploading very large pictures to the website can make pages slow to load, and very small pictures will look pixelated and blurry. The Webflow Editor will alert you if your pictures are too large (or too small). The optimum width for your large images is around 1500px wide. For the small, thumbnail image around 500px is ideal.
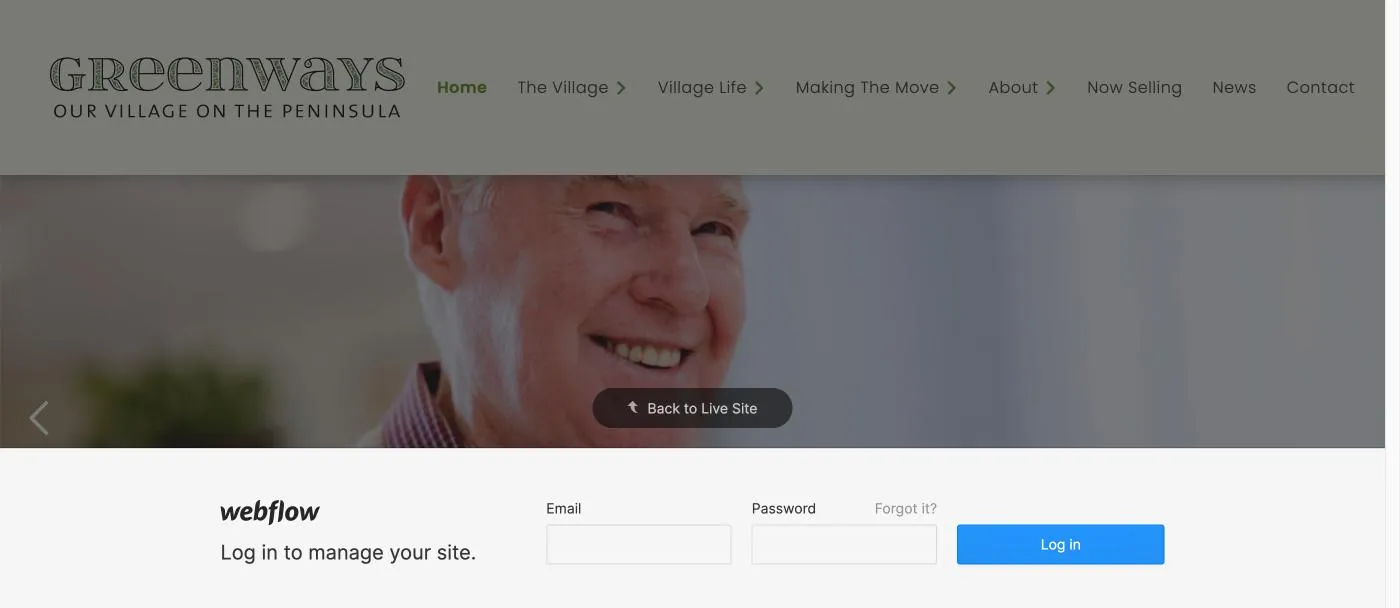
Make sure you have your Webflow Username and Password at hand. If you've never used Webflow before you will need to be invited to access the site — contact the site Administrator for help with this.
You can access the Webflow login page for the Greenways Village website here: www.greenwaysvillage.com.au/?edit
When you login to Webflow, you'll see a menu along the bottom of the screen with links to Pages, Collections and Forms. The Events pages are stored in a Collection.
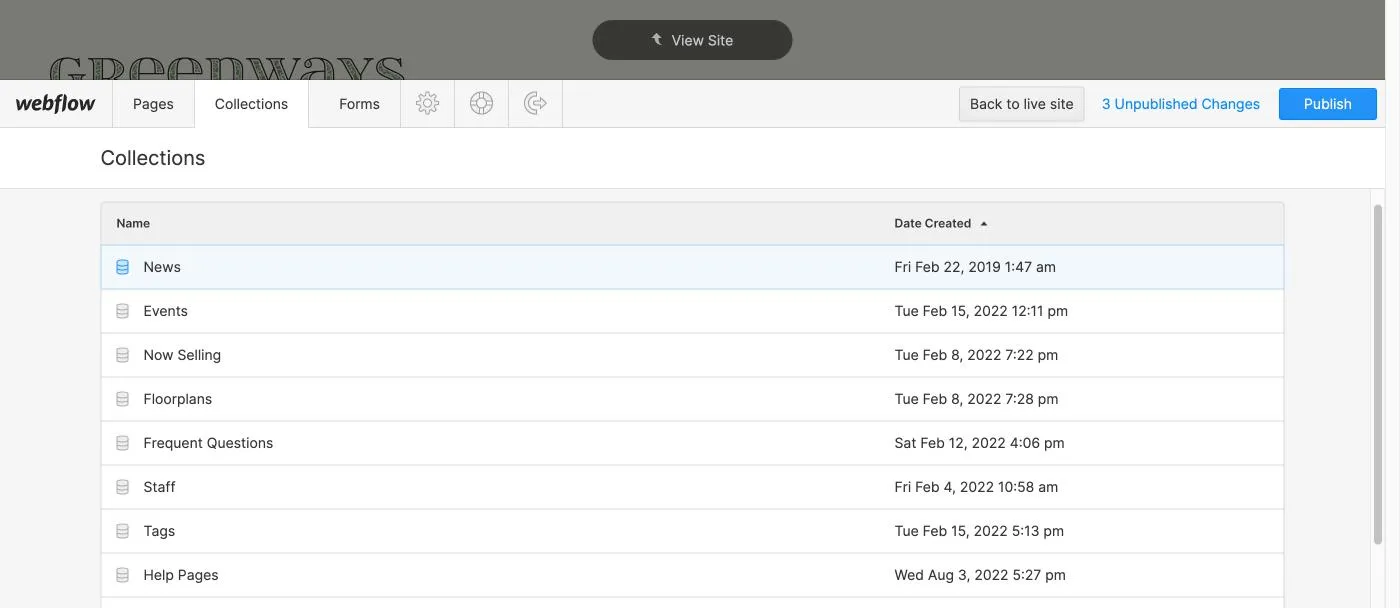
Click on the Collections button to view all the Collections for this site.


Under Collections you will see a list of all the collections for this site. Collections are like databases, each collection stores one or more entries that are related to one another.
For example, the News collection contains one entry for each of the news items on the site. Events contains one entry for each of the events listed on the site.
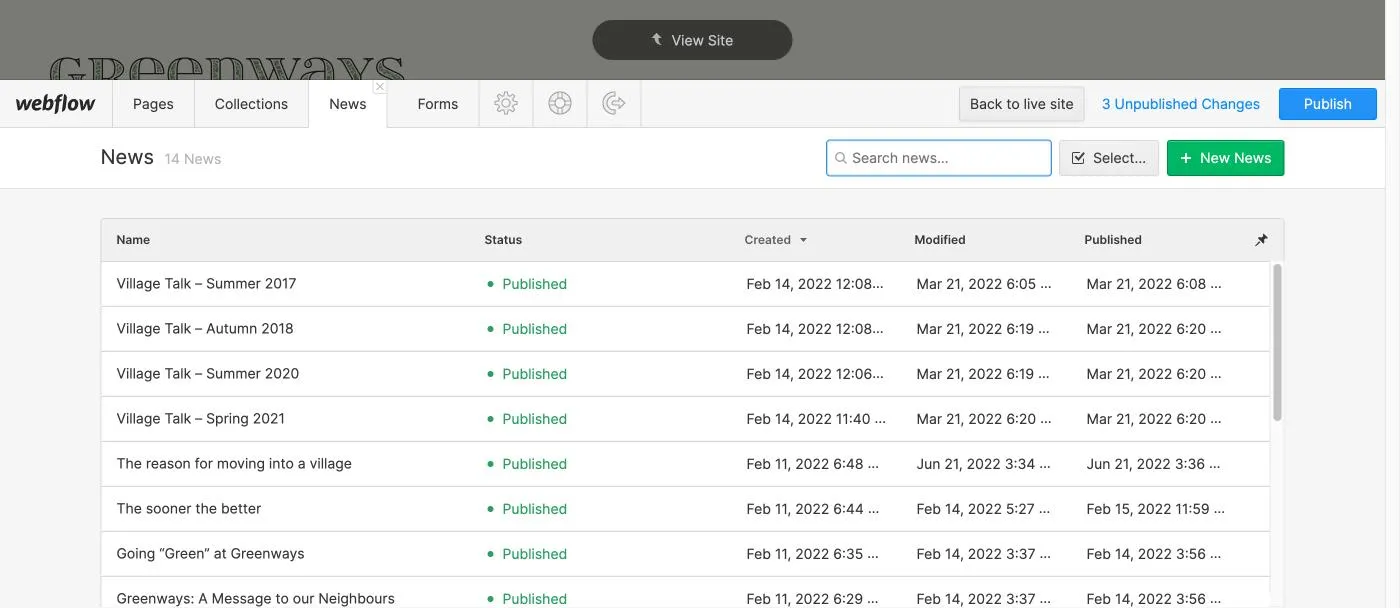
Click the News link to view a list of all events (past, present and future).
Under News you will see a list of all the news articles that have already been created.
To create a new News entry, click the green + New News button.
To edit an existing News article, click the entry in the list of news articles.
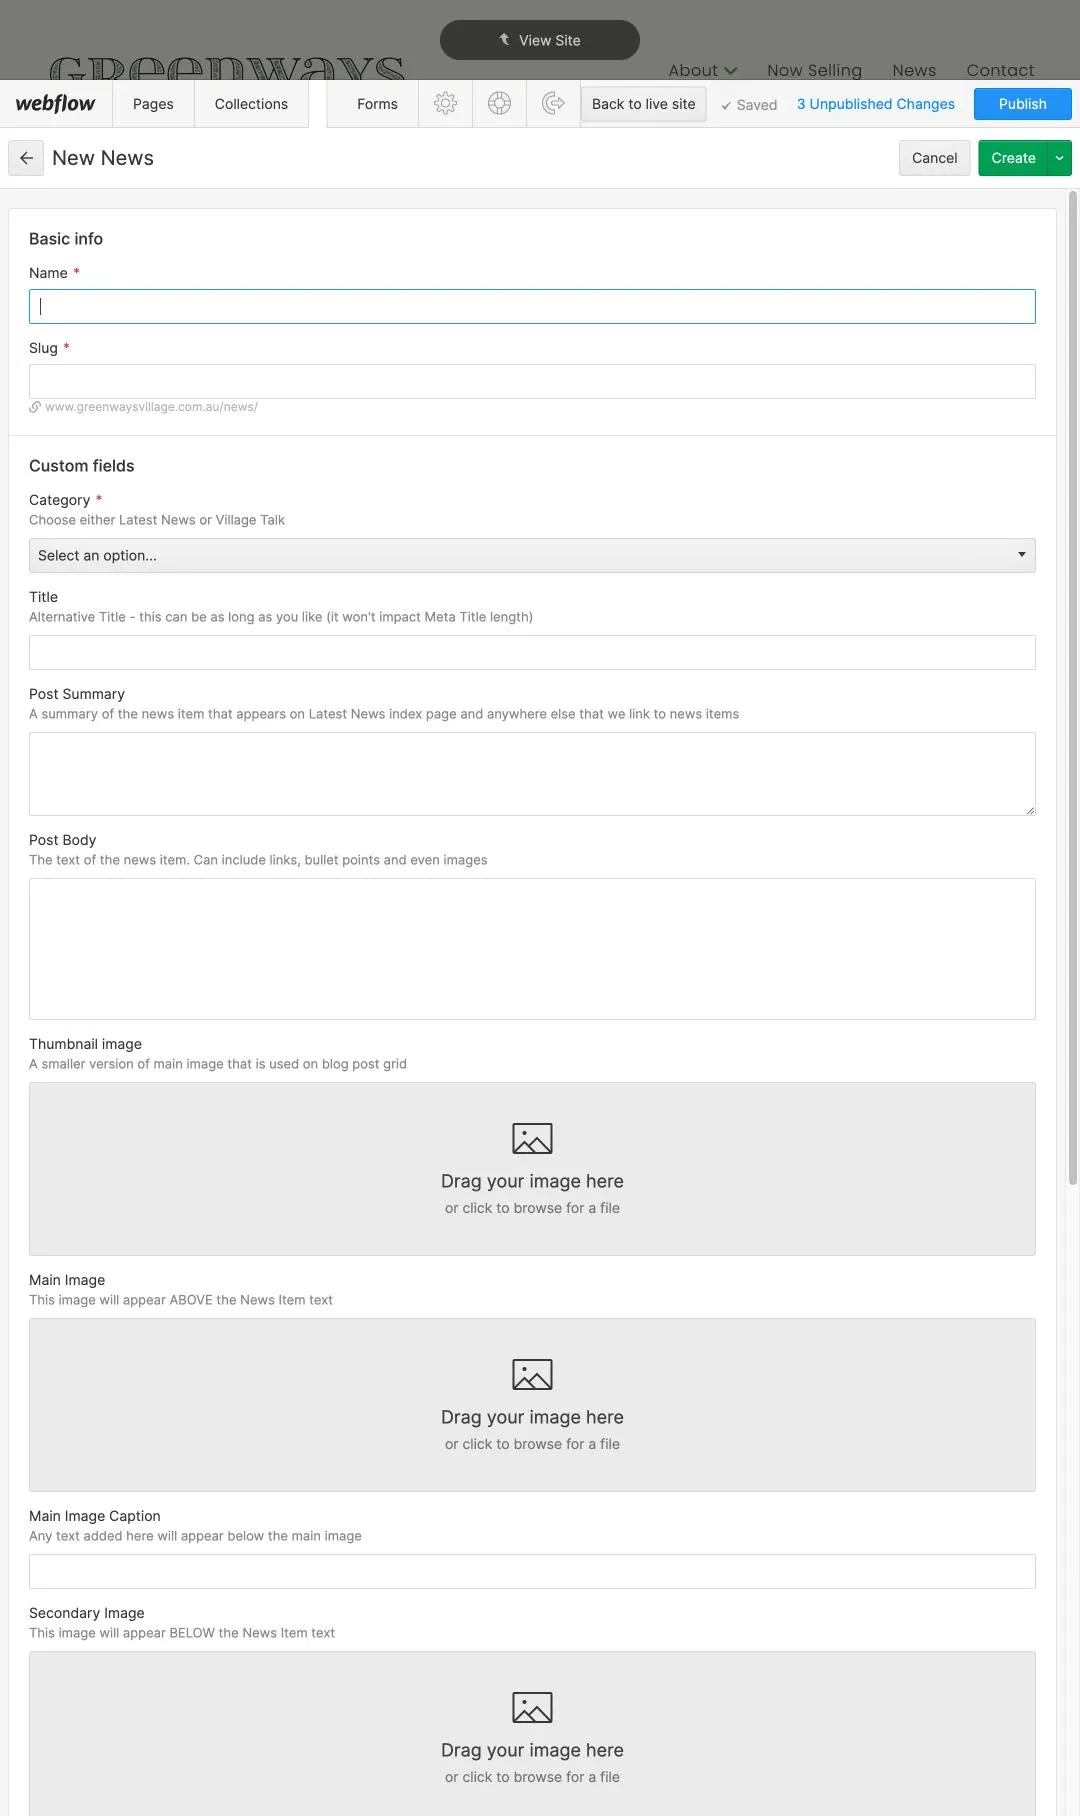
After you click the + New News button you will see a screen with the form below.
Enter the content for the news article using this form. Not all the fields are mandatory — required fields are indicated with a red asterisk.
Each field includes instructions to help you complete that field correctly.
Content entry tips:
Category: this field determines where the article will appear in the News section. Select LATEST NEWS for all general News items, select VILLAGE TALK if you are uploading an issue of Village Talk or select GREENWAYS GAZETTE if you are uploading and issue of the Gazette.
Main Image: the main image will appear on the page that shows the full news article — it will be the first image and appear ABOVE the article text. This image is optional.
Secondary Image: the secondary image will appear on the page that shows the full news article — it will appear AFTER the article text. This image is also optional.
Main Image and Secondary Image Caption: if you would like to add a caption to the main image or secondary image you can add the text here.
Published Date: this is the date that will appear on the news index page and the news article page.
After you've entered all the required information, click the CREATE button. This will save your collection entry and change its status to Staged for Publish. This new entry will appear on the website as soon as the PUBLISH button is clicked.
Alternatively, you can click the drop-down menu next to the Create button and choose one of the following options:
Publish: This will publish the entry to the live site immediately.
Save as draft: This save the entry as a draft. It will not be published until you select the Publish option (see Step 7).
Schedule: This will save the entry and prompt you to select a date and time for the entry to be automatically published.

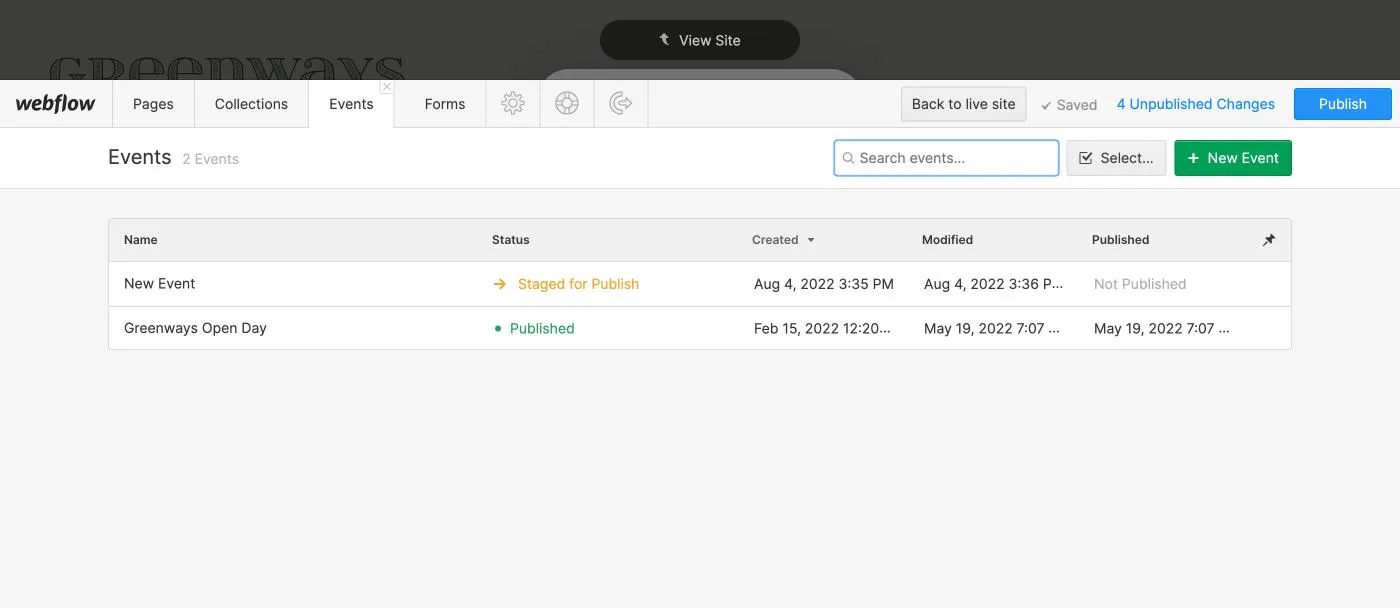
Once your entry has the status Staged for Publish it will be published to the live site when blue PUBLISH button is clicked.
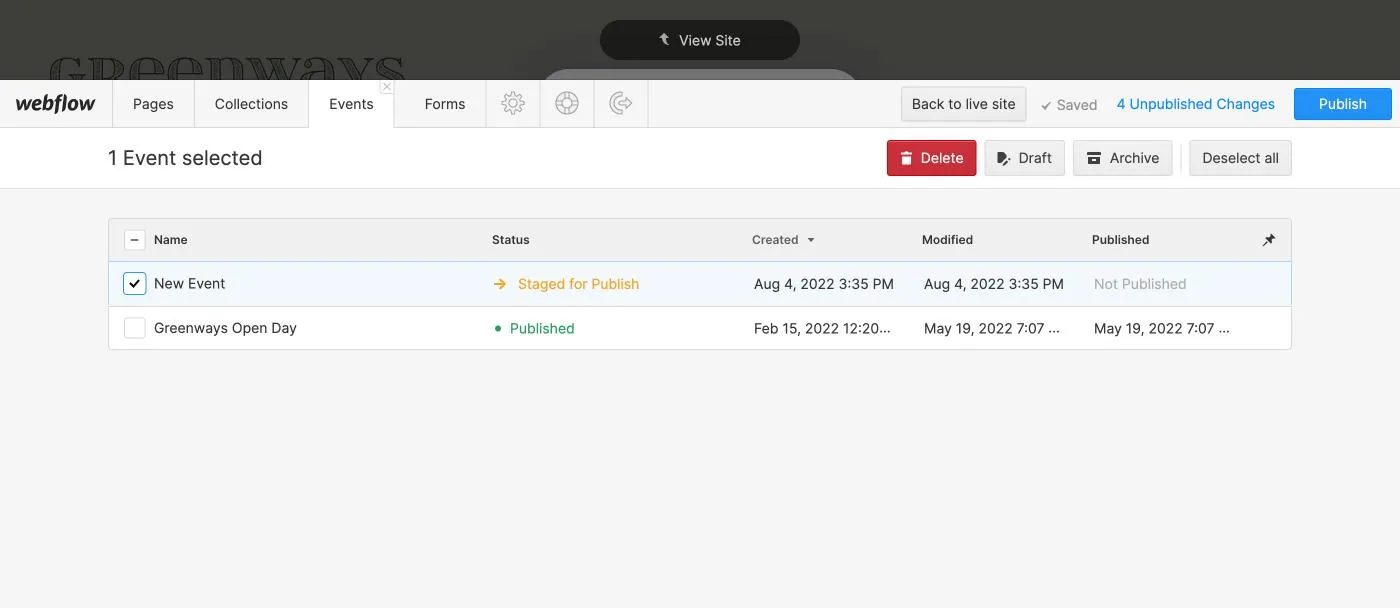
You can delete one or more entries from a collection. First click the SELECT button, then tick the entries you want to delete before clicking the red DELETE button.
Webflow University offers a large collection of tutorials that can be accessed free-of-charge.
If you want to become a power user, you can take the free 'Client's guide to the Editor' course on Webflow University, just click the button below to get started…