Create an Event with Homepage Popup
Event items can be used to promote up-coming events (like Open Days). When you create an Event, a promotional Popup and/or Banner is automatically added to the website home page. To create a new Event on the website, follow the steps in this guide.
This guide explains how to create a NEW event from scratch. You can also use the Webflow Editor to edit an existing Event. For example, if you have an upcoming Open Day, rather than create a new event you can edit the previous Open Day event by updating the event date and time.
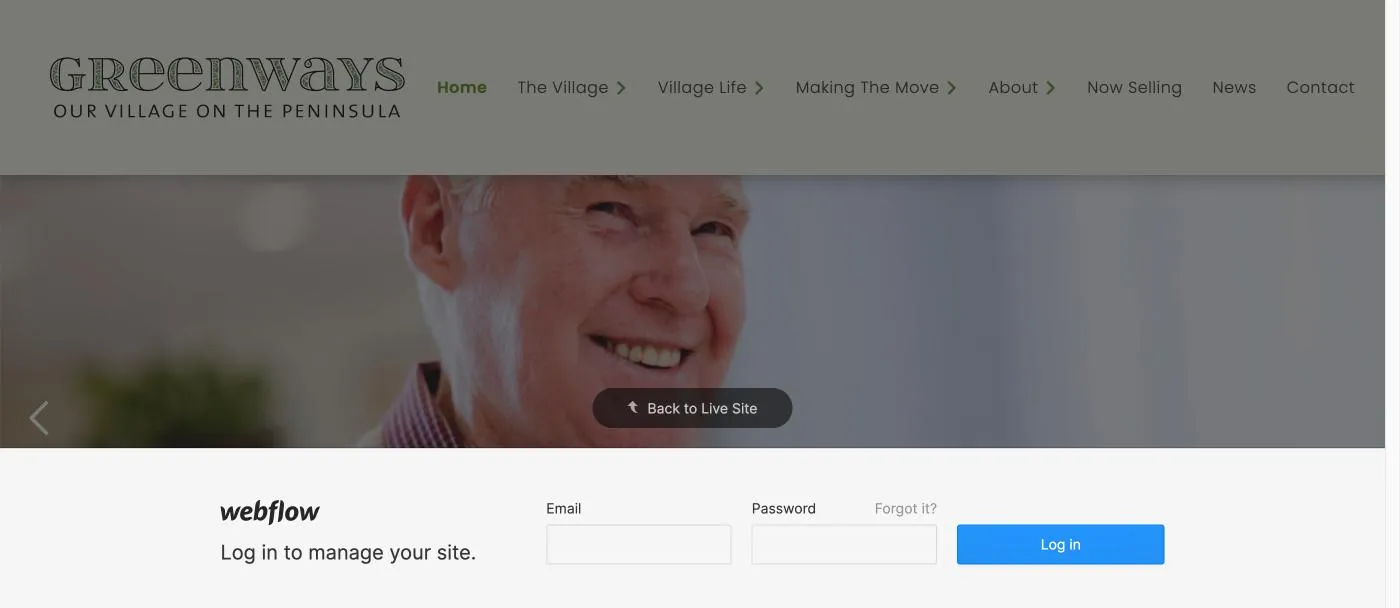
Make sure you have your Webflow Username and Password at hand. If you've never used Webflow before you will need to be invited to access the site — contact the site Administrator for help with this.
You can access the Webflow login page for the Greenways Village website here: www.greenwaysvillage.com.au/?edit
When you login to Webflow, you'll see a menu along the bottom of the screen with links to Pages, Collections and Forms. The Events pages are stored in a Collection.
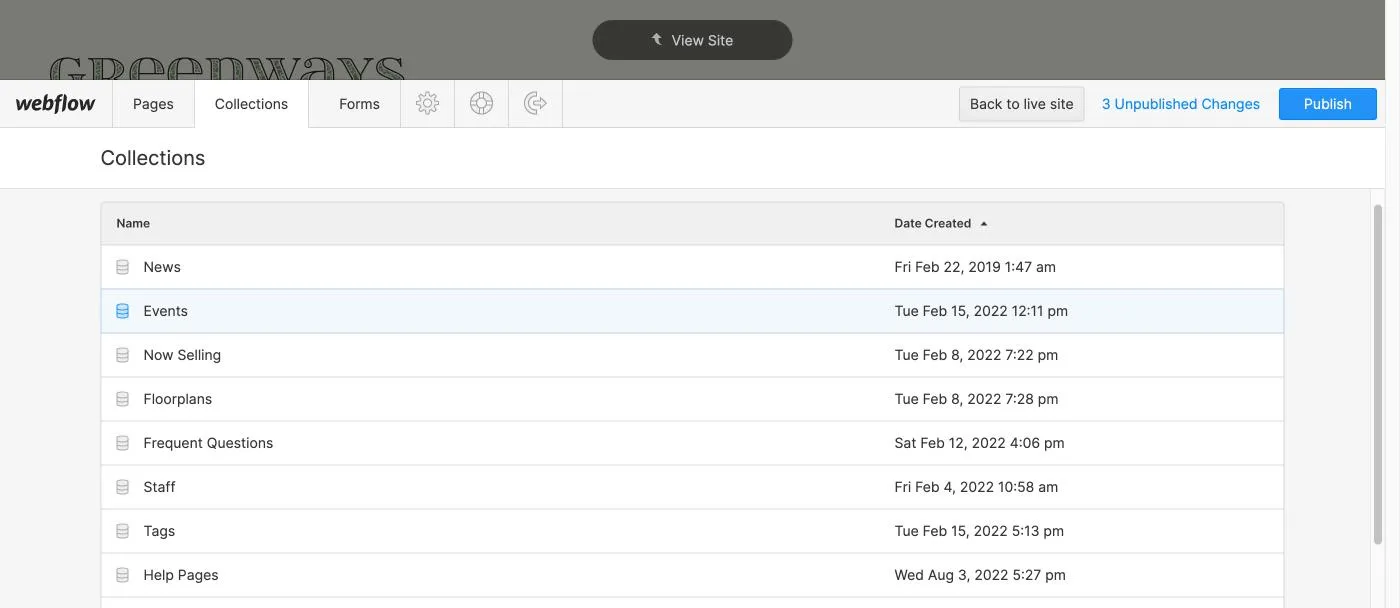
Click on the Collections button to view all the Collections for this site.


Under Collections you will see a list of all the collections for this site. Collections are like databases, each collection stores one or more entries that are related to one another.
For example, the News collection contains one entry for each of the news items on the site. Events contains one entry for each of the events listed on the site.
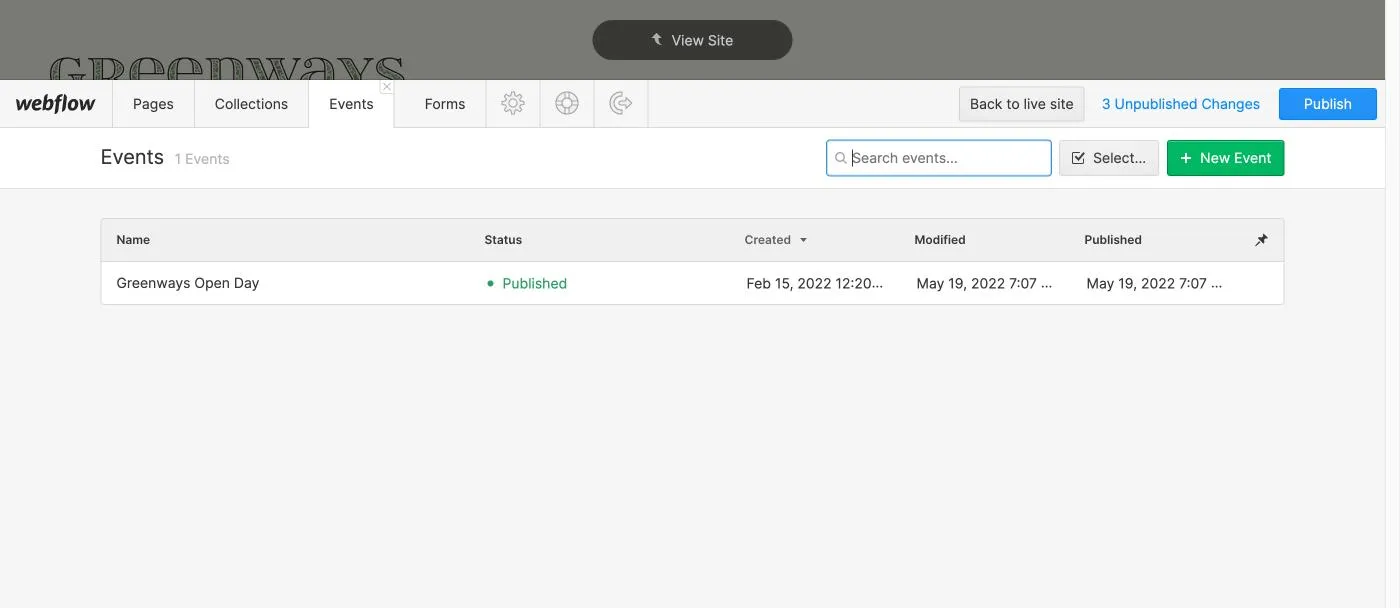
Click the Events link to view a list of all events (past, present and future).
Under Events you will see a list of all the events that have already been created.
To create a new Event entry, click the green + New Event button.
To edit an existing Event, click the entry in the list of events.
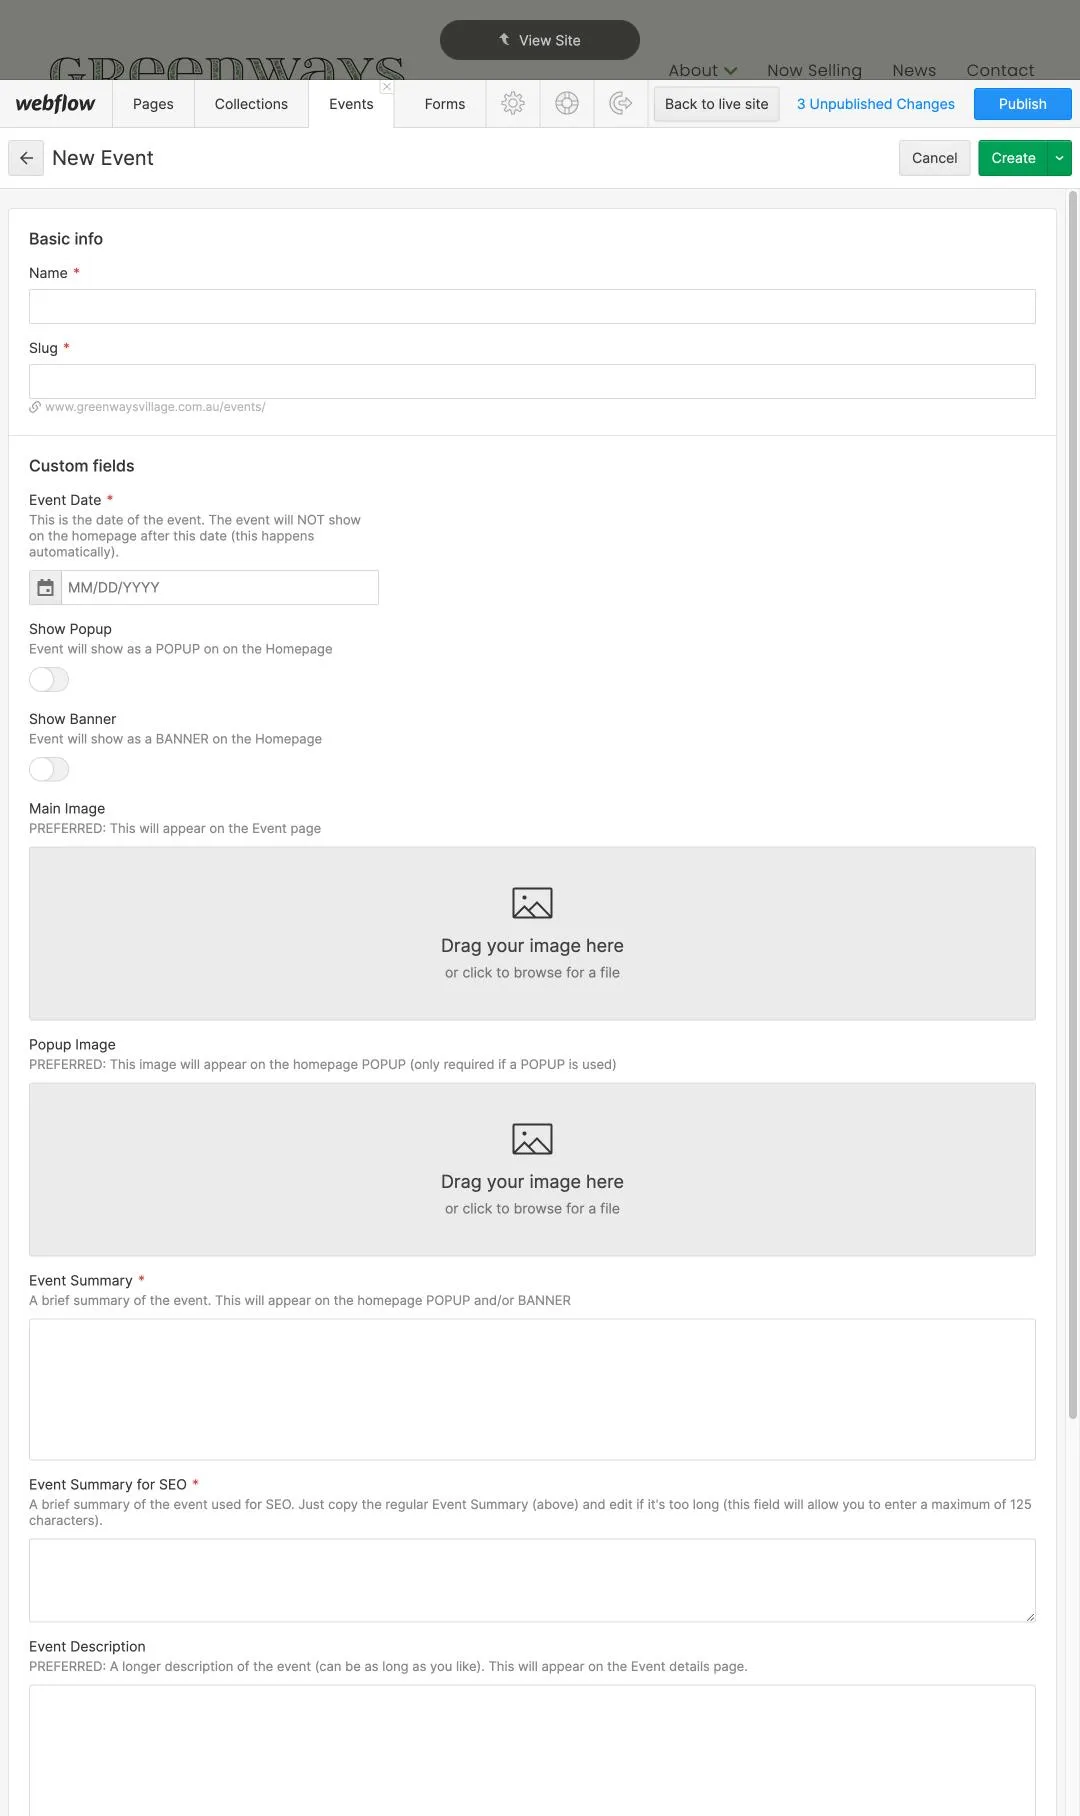
After you click the + New Event button you will see a screen with the form below.
Enter the content for the new event using this form. Not all the fields are mandatory — required fields are indicated with a red asterisk.
Each field includes instructions to help you complete that field correctly.
Content entry tips:
Event Date: enter the date of the event here. The event will be removed from the site automatically after this date, so you don't need to worry about old events showing on the site. You can edit this date in the future if necessary.
Show Popup: If Show Popup is switched on, a popup window promoting this event will appear on the website homepage.
Show Banner: If Show Banner is switched on, a banner promoting this event will appear on the website homepage (it will be placed directly below the main banner image on the homepage).
Note: You can have both Show Popup and Show Banner switched on at the same time. In this case both the popup and the banner will appear on the website homepage.
Main Image: the main image will appear on the page that shows the full event details. This image is optional, but the event details page will look a lot nicer if there is an image.
Popup Image: the popup image will appear on the popup window that appears on the homepage (if Show Popup is switched on). It can be the same as the main image.
Call To Action: the call to action is shown on a button on both the event popup and event banner. By default the text reads Find Out More, but you can change this by entering whatever you like in the Call To Action text field. For example, if this event requires a booking or tickets to be purchased, you might change the text to read Buy Tickets or Book Now.
Call To Action Link: the call to action link is the destination for the call to action button on the event popup and event banner. By default, the button is linked to the event details page, but you can change this by entering a new destination in the call to action link field. For example, you might want to link the button to the Contact Us page.
Note: the call to action link field requires a valid website URL. The easiest way to obtain a valid URL is to navigate to the page you want to use as the button destination and copy the URL from the address bar in your browser, then paste this URL in to the call to action link field.
Show Registration From: if switched on, a registration form will be added to the event details page.
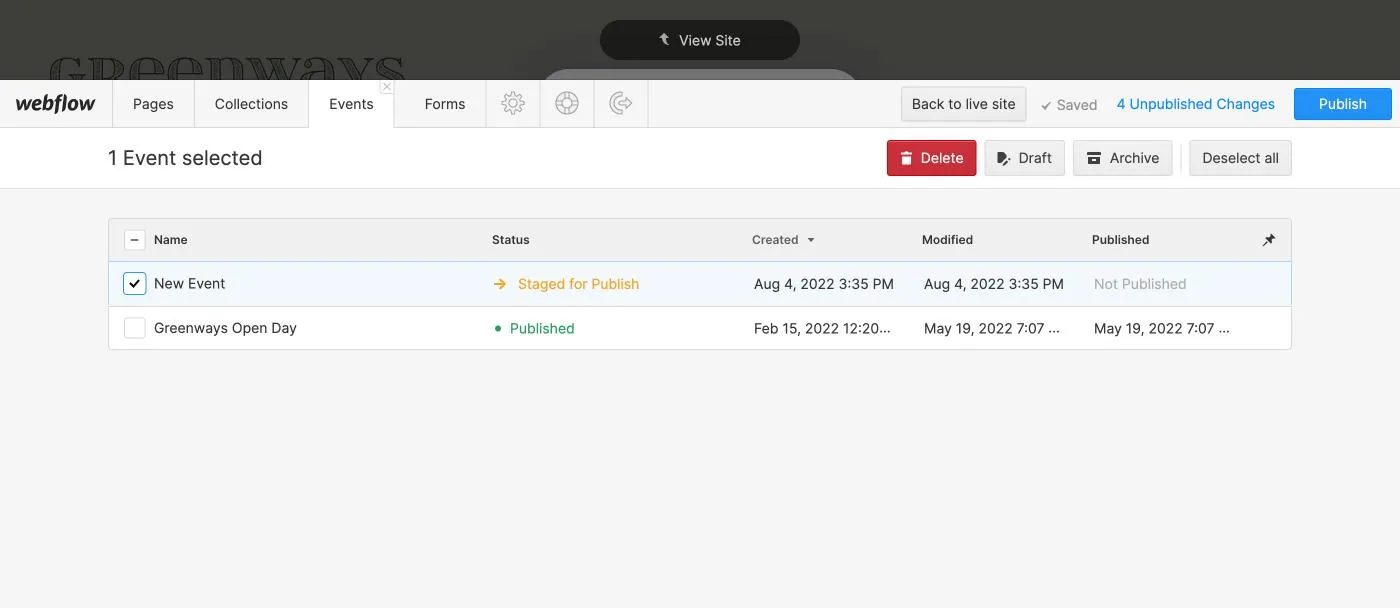
After you've entered all the required information, click the CREATE button. This will save your collection entry and change its status to Staged for Publish. This new entry will appear on the website as soon as the PUBLISH button is clicked.
Alternatively, you can click the drop-down menu next to the Create button and choose one of the following options:
Publish: This will publish the entry to the live site immediately.
Save as draft: This save the entry as a draft. It will not be published until you select the Publish option (see Step 7).
Schedule: This will save the entry and prompt you to select a date and time for the entry to be automatically published.

Once your entry has the status Staged for Publish it will be published to the live site when blue PUBLISH button is clicked.
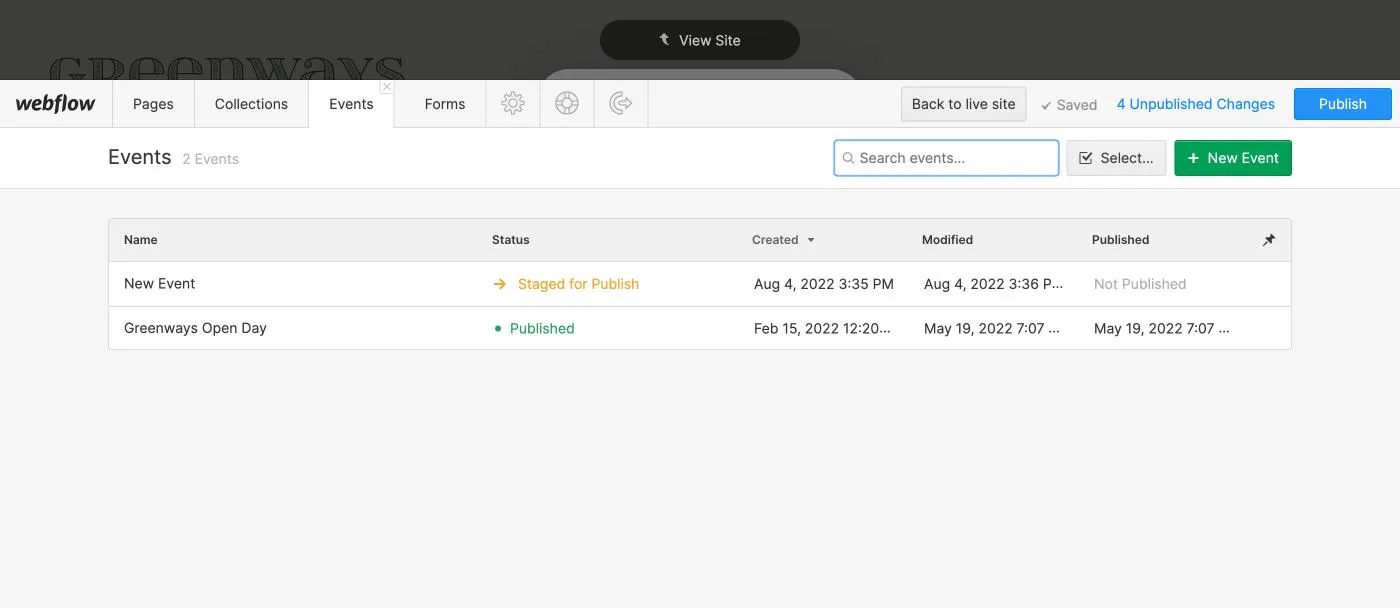
You can delete one or more entries from a collection. First click the SELECT button, then tick the entries you want to delete before clicking the red DELETE button.